
Installing a motherboard can seem intimidating, but it’s an essential skill for anyone building a computer. This step-by-step guide demystifies the process with clear, practical instructions. Whether you’re a novice or experienced, understanding each phase of the installation process can help ensure your hardware runs smoothly. Follow these steps to turn your project into a technical success.
Introduction to Motherboard Installation
Motherboard installation is a crucial step in assembling a computer, as it is the heart of the system. Understanding its importance will help you better understand the goals of the installation.
In parallel: AI and computer networks: a revolution in progress
Importance of Motherboard
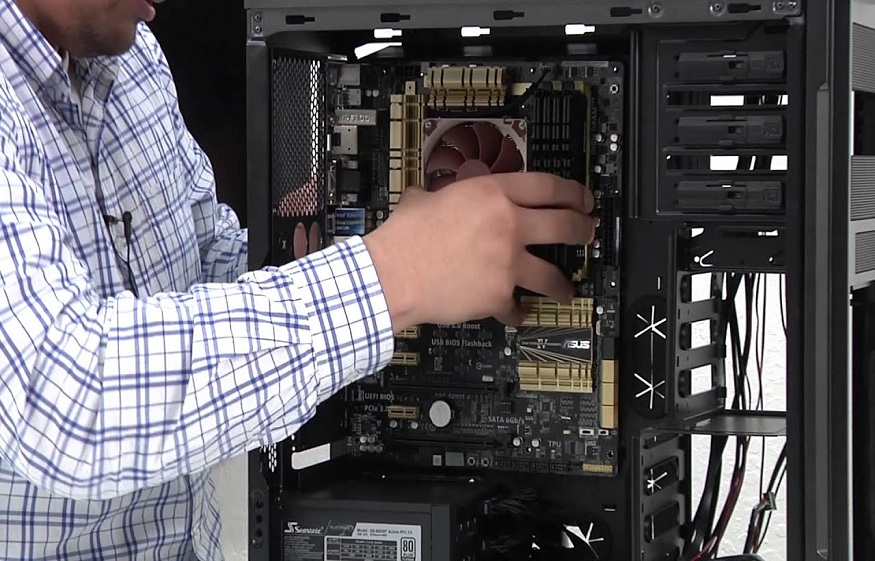
The motherboard serves as the main platform connecting all the essential components of your computer. It provides communication between the processor, memory, and peripherals. Without proper installation, these components will not function optimally.
Objectives of the installation
The main goal is to ensure that each component is properly connected and functional. This includes aligning connectors and securing screws. A successful installation ensures the stability and performance of your system.
This may interest you: Decryption: Computer networks in the service of health
Target audience and experience levels
This step-by-step guide is designed for all experience levels, from beginners to advanced users.
Beginners : Learn the basics of installation.
Intermediates : Improve your installation skills.
Experts : Optimize your assembly process.
“The motherboard is the nerve center of your PC, its correct installation is imperative for proper operation.” – Computer Expert
By following this guide, you will be able to install your motherboard with confidence and accuracy.
Tools and materials needed
Having the proper tools and materials is crucial to successfully installing a motherboard . Proper preparation makes the process easier and minimizes errors.
List of essential tools
Having the right tools on hand is essential. Here is a list of the basic tools needed for installing a motherboard:
Screwdriver : Crucial for securing the motherboard and other components.
Pliers : Useful for handling small components and connectors.
Materials to have on hand
In addition to tools, certain materials are needed to complete the installation:
Screws : Ensure secure attachment of the motherboard.
Connectors : Necessary to establish connections between the motherboard and other components.
Cables : Essential for power and data communication.
Importance of organizing tools
Methodical organization of tools and materials is essential for a smooth process. Arrange them in an accessible manner to avoid interruptions. A tidy workspace improves efficiency and reduces stress during installation.
“Organization is the key to a successful installation.” – IT Technician
By following these tips, you will be well equipped to successfully install your motherboard.
Preparing for installation
Ensure a successful installation by following these essential steps.
Safety Instructions
Before you begin installing the motherboard , it is imperative that you follow certain safety instructions . Wear an antistatic wrist strap to avoid electrostatic discharges that could damage components. Make sure that the computer is unplugged and that you are working on a non-conductive surface.
Checking Compatibility
Compatibility between the motherboard and other components is crucial. Check that the processor , RAM, and expansion cards are compatible with your motherboard. Check the technical specifications provided by the manufacturer to avoid any incompatibilities that could cause malfunctions.
Setting up the workspace
A well-organized workspace makes motherboard installation easier . Arrange your tools and materials in an orderly manner. Here’s an example of a setup:
Methodical organization reduces errors and improves efficiency. By following these steps, you will be prepared for a successful and safe motherboard installation.
Motherboard Installation Steps
Follow this handy guide for an efficient and error-free installation.
Removing the old motherboard
Before you begin installing the new motherboard , it is crucial to carefully remove the old one. Disconnect all cables and remove the screws holding it in place. Note the location of the connectors to make the reverse process easier.